Have you ever wondered how people create amazing objects like custom phone cases, intricate jewelry, or even parts for machines? What if we told you that you can make these things yourself using a 3D printer? That’s right—3D Printing is not just for professionals anymore. With this guide, you’ll learn how to start your own 3D printing projects and bring your ideas to life !
Overview
This beginner’s guide will walk you through the basics of 3D printing, from choosing the right tools to completing your first project. The best part? It doesn’t take long to get started! Most beginners can complete their first small project in just a few hours 2. This guide is perfect for anyone who wants to try something new, whether you’re an artist, inventor, or simply curious about technology.
Time Requirement
- Preparation: 1–2 hours (choosing software, designing models)
- Printing: 1–4 hours (depending on the size and complexity of the project)
Difficulty Level
Beginner-friendly! No prior experience needed. We’ll break everything down step by step so you feel confident every step of the way.
Essential Ingredients
Before diving into your first 3D printing project, let’s talk about what you’ll need. Think of these as the “ingredients” for success:
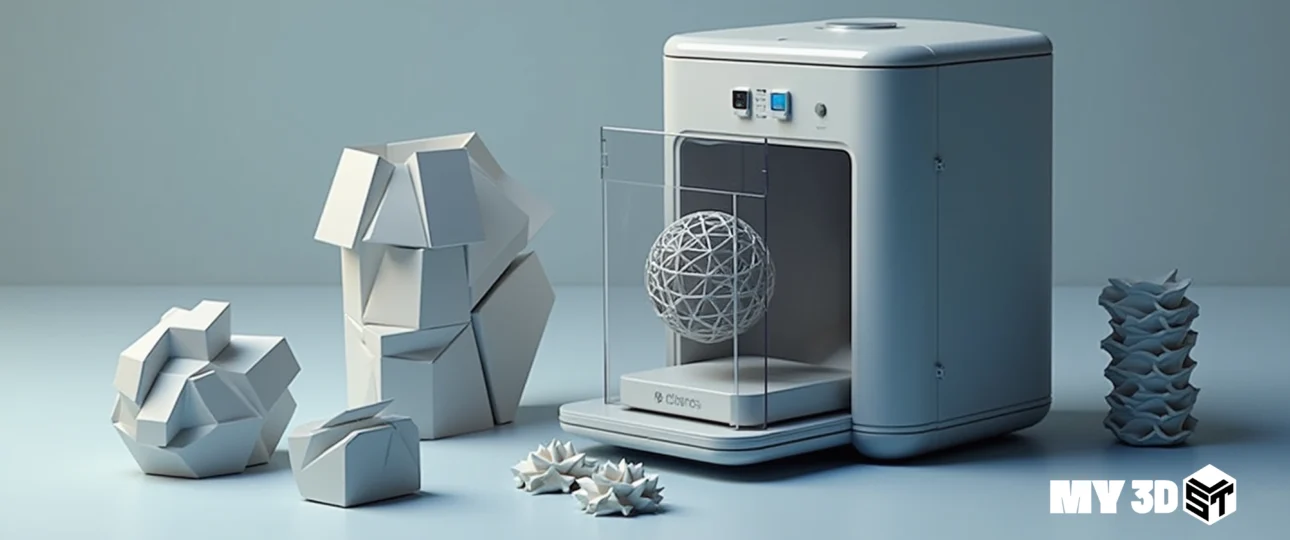
1. A 3D Printer
You’ll need access to a 3D printer. If you don’t already own one, many libraries, schools, and makerspaces offer them for public use. For home users, affordable desktop printers are widely available 5.
2. Design Software
To create your 3D model, you’ll need design software. Popular options include:
- TinkerCAD (great for beginners)
- Fusion 360 (more advanced but free for students and hobbyists)
- Blender (free and powerful, though it has a steeper learning curve)
Why are these important? They allow you to turn your ideas into digital designs that the printer can understand.
3. Filament or Material
The material you choose depends on your project. Common types include:
- PLA : Easy to use, eco-friendly, and ideal for beginners.
- ABS : Stronger and more durable, great for functional parts.
- Specialized materials like flexible filaments or wood-effect plastics add variety to your creations 9.
Pro Tip: Start with PLA—it’s user-friendly and less likely to cause issues during printing.
4. Tools
You’ll also need some basic tools for post-processing:
- Scrapers for removing prints
- Tweezers for handling small parts
- Calipers for precise measurements 5

Step-by-Step Instructions
Now that you have all your ingredients, let’s cook up a great project!
Step 1: Choose or Create a 3D Model
Your journey begins with selecting or creating a 3D model. You can either:
- Download pre-made models from websites like my3dstl or Topstl.
- Design your own using software like TinkerCAD or Fusion 360 3.
Tip: Keep it simple at first. Small, straightforward designs are easier to work with when you’re starting out.
Step 2: Prepare Your File
Once you have your model, export it as an STL file. This format is universally recognized by 3D printers. Next, load the file into slicing software, which converts the 3D model into layers the printer can read 2.
Step 3: Set Up Your Printer
Before hitting “print,” ensure your printer is ready:
- Clean the print bed.
- Load the filament according to the manufacturer’s instructions.
- Adjust settings like temperature and speed based on the material you’re using.
Step 4: Start Printing!
Press “go” and watch your creation come to life! Depending on the size and complexity of your project, this could take anywhere from minutes to hours 7.
Assembly
After your print finishes, it’s time to assemble and refine your project. Use your tools to remove any supports or imperfections. Here’s how:
- Carefully scrape off excess material with a spatula.
- Sand rough edges for a smoother finish.
- Paint or decorate your object if desired.
Presentation tip: Display your finished project proudly! Whether it’s a keychain, figurine, or prototype, show off your hard work.
Storage and Make-Ahead Tips
Storing your printed objects and materials properly ensures they stay in top condition:
- Store unused filament in a dry place to prevent moisture damage.
- Label different colors and types of filament for easy identification.
- Keep completed projects dust-free in a box or display case.
If you’re planning ahead, consider breaking larger projects into smaller pieces that can be printed separately and assembled later.
Recipe Variations
Here are some fun ways to spice up your 3D printing projects:
- Try mixing colors or gradients using dual extrusion printers.
- Experiment with textures by adjusting infill patterns.
- Incorporate moving parts or mechanisms for interactive designs.
For example, instead of printing a plain coaster, why not add personalized engravings or raised patterns?
Conclusion
Congratulations—you’ve taken the first steps toward mastering 3D printing! Remember, practice makes perfect. Don’t be afraid to experiment with different designs, materials, and techniques. Who knows? Your next project might become the next big thing. So grab your tools, fire up your printer, and let your creativity shine!
FAQs
1: Do I need special skills to start 3D printing?
A: Not at all! Many beginner-friendly software programs and tutorials are available to help you get started quickly 1.
2: Is 3D printing expensive?
A: Initial costs can vary, but entry-level printers and materials are relatively affordable. Over time, you may save money by producing items yourself rather than buying them 2.
3: Can I recycle old prints?
A: Absolutely! Some filaments, like PLA, can be recycled or reused after being ground down 9.
4: How do I fix common printing problems?
A: Check online forums or consult your printer’s manual for troubleshooting tips. Issues like warping or clogged nozzles often have simple solutions.