
STL vs 3MF is a useful comparison when a model download contains several file types and you are unsure which one to open. Both formats can carry printable model geometry, but they do not necessarily preserve the same information. Understanding that difference helps you choose a workflow and avoid importing settings that do not suit your printer.
This guide explains seven practical differences, shows how to check a download, and connects the file formats to real MY3DSTL collections. It is for makers choosing digital models, including anyone preparing small gifts or a new personal printing project. Product photographs illustrate the collections; they are not test prints performed for this article.
Table of Contents
1. STL vs 3MF: geometry alone or a richer container
An STL describes the surface of a model using triangles. In a typical workflow, you import that geometry into your slicer, select your machine and material, and prepare the print. The file does not provide a complete editable design history or a ready-made set of printing instructions for your particular machine.
A 3MF can contain model geometry together with additional information. Depending on how it was created, it may include several objects, colors, arrangement details, or slicer project settings. Do not assume every 3MF includes all these features. A file used to exchange geometry and a saved slicer project can have the same extension while serving different purposes.
Prusa’s guide to saving projects as 3MF describes how its slicer can preserve a project in that format. The practical lesson in STL vs 3MF is to inspect what a file contains rather than deciding from the extension alone.
2. STL vs 3MF when choosing your printer settings
With an STL, you normally start from the slicer profile you have selected and decide how to prepare the imported geometry. This is useful when you want a clear starting point with your own known settings. You still need to check dimensions, orientation, supports, and material rather than treating the model as automatically ready.
Opening a 3MF project can introduce settings saved by its creator. Those may describe a different machine, nozzle, filament, or plate arrangement. Before slicing, check the active profiles and compare them with your real equipment. A helpful shared project still needs review when it moves to another printer.
For an official example, Prusa’s first-print guide explains that a 3MF project may bring its own printer, filament, and print settings. In the STL vs 3MF decision, convenience should come with a deliberate check of the imported configuration.
3. Multiple models, parts, and plate arrangements
A download may contain one object or many related parts. An STL can contain more than one disconnected piece of geometry, so it is not accurate to assume that one STL always equals one physical part. However, that does not make it a complete record of how the parts should be printed or assembled.
A 3MF project can preserve a useful arrangement of several objects. This may save setup time when you return to a project, but you should still compare the arrangement with your build area. A plate prepared for another machine may be too large or may use different spacing and print methods.
When comparing STL vs 3MF for a bundle, check the actual listing and included folders. A collection offering both formats does not necessarily include every design in both formats or a customized plate for your exact printer. Confirm the contents before buying if a particular format is important to your workflow.
4. STL vs 3MF for colors and visual information
A standard STL surface does not carry the richer color and project information that a 3MF can support. If a product preview shows several colors, the picture alone does not tell you whether the download includes color assignments. It may show a painted example, a render, separate parts, or a particular printer setup.
A 3MF can support color information, but how you use it depends on the file and the software. Review the imported objects and color assignments in your own slicer. Then check whether the planned output suits a single-color workflow, manual changes, separate parts, or compatible multicolor equipment.
Avoid making STL vs 3MF a promise of automatic multicolor printing. A file format does not add hardware your machine does not have. Read the design notes and use the preview to understand exactly what your chosen setup will produce before committing to a long print.
5. Reopening and repeating a successful project
Once you have a successful sample, preserving the settings helps you repeat it. Saving only the original model is different from saving the complete slicer project. Record the material, profile, orientation, scale, and any changes that mattered to the result, even if your project file also stores them.
A saved 3MF project can make it easier to revisit an arrangement or modify a previous setup. Keep the original download separately from your own working project. Clear names help you distinguish the supplied model, your test version, and the final arrangement you actually used.
In STL vs 3MF terms, choose geometry exchange when that is what you need, and save a project when you want to preserve a prepared workflow. Neither approach replaces checking the real printer and material when you return months later or change equipment.
6. Compatibility depends on your slicer and workflow
Check which formats your software accepts and what information it imports from them. Support for the file extension does not guarantee that every application-specific feature will transfer identically. If a shared project does not open as expected, consult the software’s import guidance before making changes to the model.
Prusa publishes a supported-file-formats reference covering its own slicer. Use the equivalent documentation for the software you actually run. This keeps the STL vs 3MF comparison grounded in your workflow rather than a general claim that one format is always better.
If your download contains an STL as well as a 3MF, the STL may provide a useful geometry-only starting point when you want to prepare the model independently. Inspect the result after import and follow the included instructions. Keep the supplied files unchanged so that you can return to them if an experiment fails.
7. Neither format guarantees a successful print
The STL vs 3MF choice does not remove the need for a printable design, a calibrated machine, and suitable material settings. Thin features can disappear in the layer preview. Supports can be misplaced. An attractive model can still be too large, too delicate, or too demanding for the project you intended.
Articulated animals add another important check: their moving parts need separation. The format alone cannot ensure that the designed clearances survive scaling and slicing. Follow the designer’s intended workflow and test one copy before filling the plate. Our print in place STL files guide explains these joint checks in more detail.
Remember that model files are different from the final machine instructions generated by your slicer. Prepare the output for your actual setup using the normal workflow for that printer. Do not assume a downloaded instruction file is suitable simply because it came in the same folder as the model.
STL vs 3MF comparison at a glance
| Question | STL | 3MF |
|---|---|---|
| What is the usual starting point? | Model surface geometry | Geometry with the possibility of additional data |
| Can it preserve a slicer project? | Not a complete project format | Can be used for saved projects, depending on the software |
| Should I check the selected printer? | Yes | Yes, including any imported profiles |
| Does a colorful preview guarantee color assignments? | No | No; inspect the actual file |
| Does it guarantee support-free printing? | No | No |
| Does it grant commercial rights? | No; check the license | No; check the license |
STL vs 3MF in real MY3DSTL collections
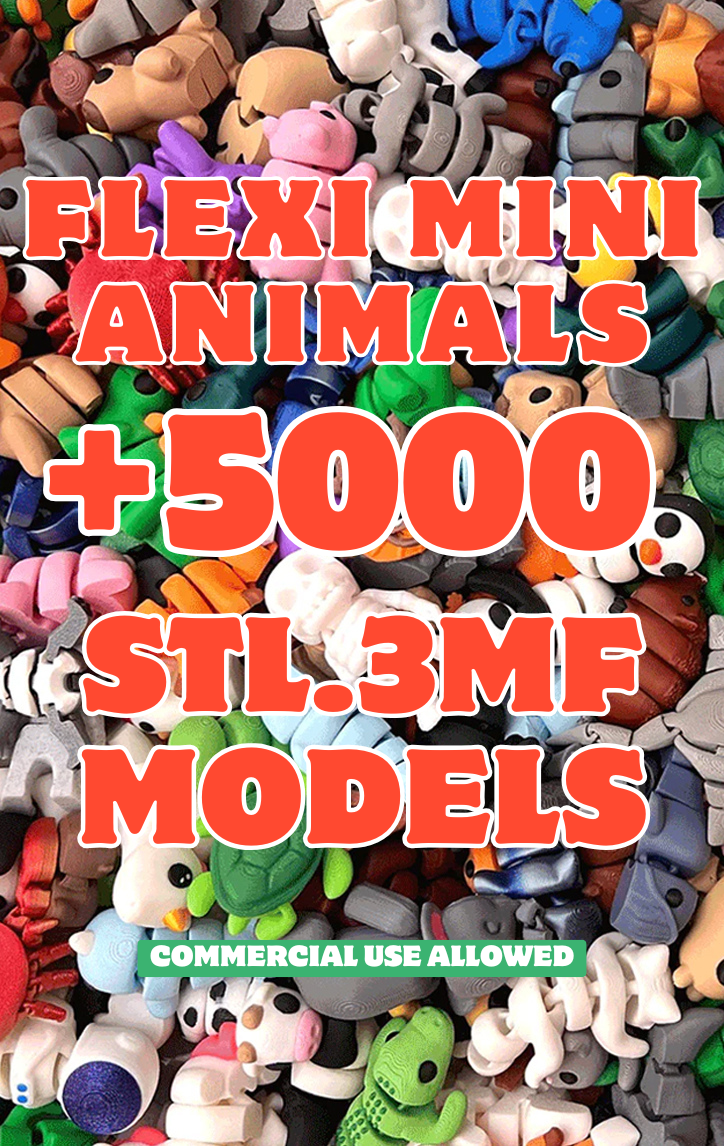
The Flexi Mini Animal collection with 5000+ files is a useful place to see both format names in a listing. Choose by the models you actually want and the listed contents rather than the headline count alone. The current product description specifies personal use, so do not assume the download permits commercial sales.
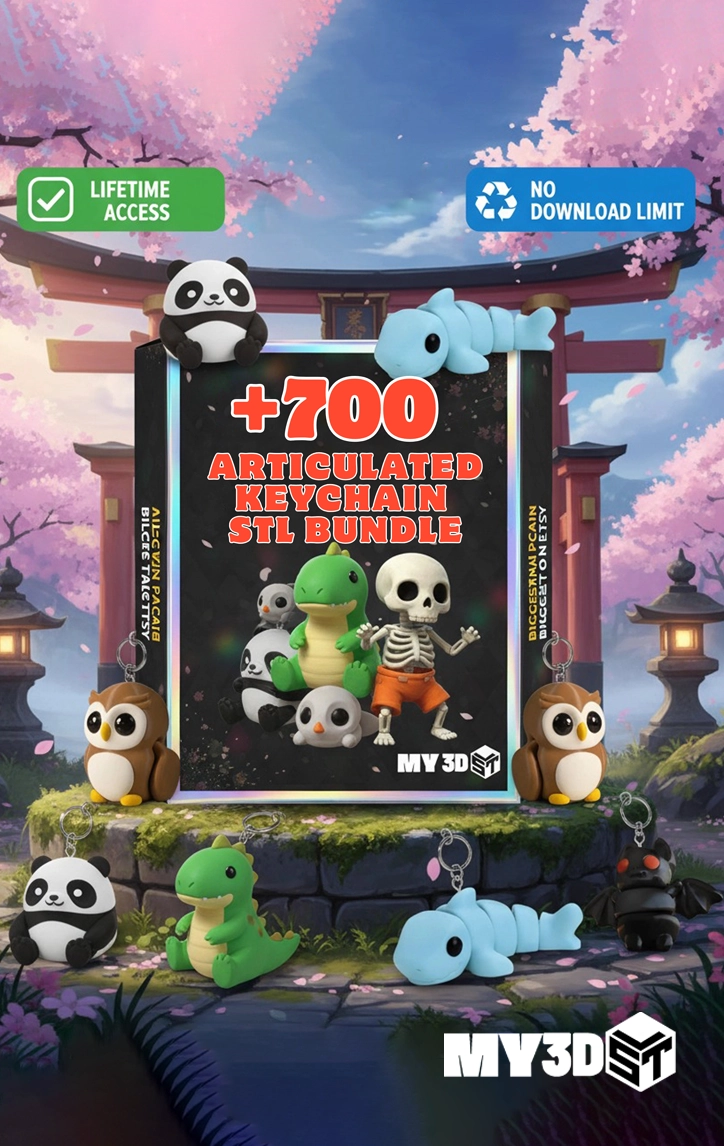
The 700 Articulated Keychain STL and 3MF Bundle is another option for compact model projects. Review its included formats and model groups before deciding. You will need your own printing setup and any key rings or other hardware for the finished objects.
Product previews illustrate design choices; they do not establish that a specific file has been tested on your printer. For STL vs 3MF purchases, ask about missing requirements before ordering rather than assuming that “ready to slice” means the project is configured for every machine.
A simple download-to-print checklist
First, read the listing, confirm the license, and organize the downloaded archive. Identify the model files, instructions, and any saved projects. Keep an untouched copy. If several folders contain similarly named files, read the notes before choosing between versions.
Second, open one model or project and verify the dimensions. Compare the active machine, nozzle, and material with your equipment. Review support placement and move through the sliced layers. Use the estimated time and material to plan a small test, not a whole batch.
Third, print and inspect a sample using the manufacturer’s normal operating guidance. Check the finish, fit, and any moving sections. Save a record of the successful setup. Repeat it once before increasing the number of copies or changing the material.
If this is your first project, our beginner’s guide to 3D printing projects covers the broader workflow. For holiday inspiration, the Christmas STL files guide compares decorative and gift ideas.
Frequently asked questions about STL vs 3MF
Is 3MF always better than STL? No. The useful choice depends on whether you need simple geometry exchange, additional model data, or a saved project. Check how your software handles the actual file.
Will converting an STL to 3MF improve the detail? A different container does not recreate missing geometry. If the source model is coarse or lacks a feature, saving it under another format does not automatically restore that detail.
Can I open a 3MF and immediately start printing? Review the contents and settings first. You still need to prepare suitable output for your particular machine and confirm the dimensions, material, and print arrangement.
Why does a bundle contain both STL and 3MF? The files may support different ways of importing and preparing models. Read the included notes to learn whether the 3MF contains geometry, a prepared project, or other useful information.
Does STL vs 3MF affect permission to sell prints? The format does not determine the license. Check the rights for the specific model and any third-party designs or characters before using it commercially.
Choose the format that matches your next project
Use the STL vs 3MF comparison to ask better questions about a download: what geometry is included, which settings are stored, and what needs checking on your own machine? Start with one manageable model, inspect the slice, and keep a record of the successful result.
Browse the linked collections for ideas, then choose based on actual model requirements and permissions. Understanding the file format is one part of a reliable workflow; a thoughtful test print is what connects that digital choice to the object you want to make.
A practical STL vs 3MF comparison on one project
Choose one design for which the creator supplies both formats, then preserve the original download. Open each file as a separate project in the slicer you normally use. Record what appears: geometry, separate parts, plate placement, material assignments, and any imported profile information. Do not assume that matching filenames mean the two files contain identical project data.
Check the dimensions first. Then compare the selected printer and nozzle, material profile, orientation, and support generation. A geometry-only import and a prepared project can begin with different assumptions even when they show the same object. Make your own equipment the reference for deciding which settings are suitable.
For this STL vs 3MF test, inspect the generated layers rather than judging only the shaded view. Look for small features, moving gaps, and any additional objects on the plate. Note which decisions came from the download and which ones you made yourself. That distinction will help you explain the successful setup if you return to the project later.
Keep an archive that explains your choice
Use a folder structure that separates the original files from your working copies. Store the model source, the file version, and the date beside the finished project. Include a note describing whether your saved file is intended to preserve geometry, a complete slicer setup, or a particular plate arrangement. A useful archive makes those purposes clear without requiring you to reopen every file.
When discussing STL vs 3MF with another maker, describe the actual workflow rather than declaring one extension universally better. Someone who wants to arrange a single object may need less project information than someone repeating a carefully prepared multicolor plate. Their slicer may also interpret supported features differently. Compare the files in the software they plan to use.
Keep the final output for your printer separate from the editable project and the original geometry. Name each item by purpose so you do not mistake a machine-specific output for a reusable source model. The right naming habit reduces confusion when several revisions of one design accumulate over time.
Review a shared project before printing
If you receive a prepared project from another maker, ask what printer, material, and nozzle they used. Treat their result as a reference, then verify the settings on your machine. Review start and end behavior using the normal tools and documentation for your printer. Do not run unfamiliar machine instructions merely because the model preview looks correct.
A careful STL vs 3MF decision ends with a verified slice and clear notes. Select the format that preserves the information you need, confirm that your slicer supports it, and save the successful working project. That gives you a repeatable process for the next download without depending on assumptions about a filename.
After printing, add a photograph and a brief outcome note to the archive. Record any important adjustment that happened after the first slice. Future comparisons become easier when your files describe what was actually printed rather than only the settings you initially intended to use.