Find 3D printer files for your next creative project at MY3DSTL. Browse digital STL models for display pieces, gifts, collections, and everyday printing ideas. Start with a design you enjoy, read its product details, and check that the files match your equipment before you buy.
Read our guide to choosing and printing STL models
Table of Contents
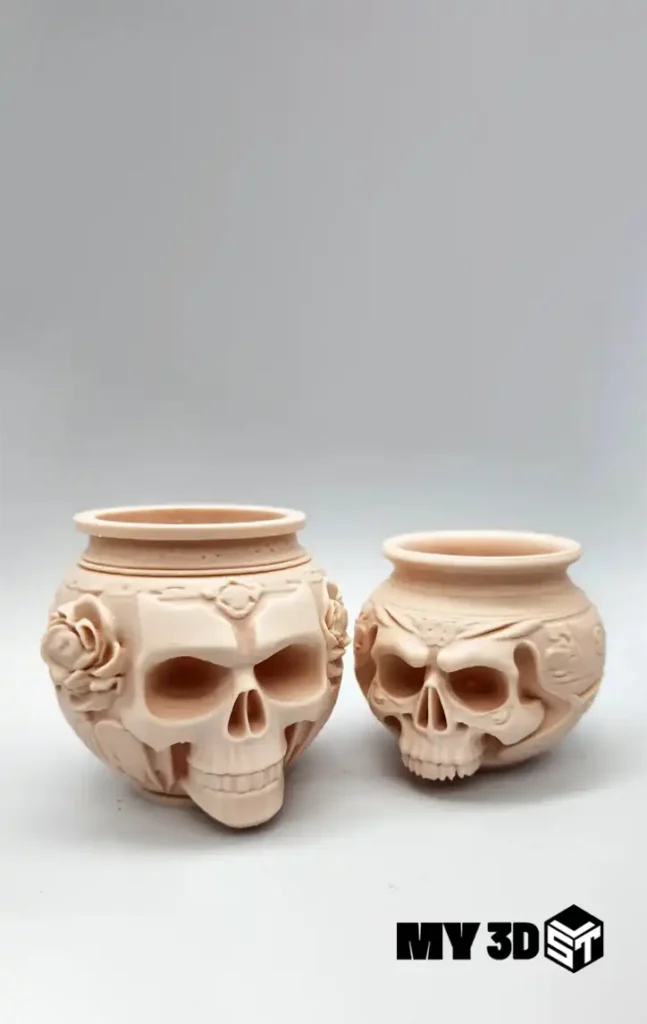
Choose 3D printer files with confidence
A great print begins with choosing the right model. Look closely at the product images and description to understand what is included. Some projects suit compact desktop machines, while others need a larger build area or several separate parts. Check the listed file formats, dimensions, and any assembly information before planning your print.
These are downloadable digital files. You will need a compatible printer, suitable material, and slicing software to produce a physical object. Product pictures can show renders or finished examples; your own result will depend on your machine, settings, material, and finishing process.
Explore ideas for your next project
Use the shop to compare models that fit your interests. A small decorative piece can be a convenient starting point, while a detailed display model may need more preparation. Consider the space available on your desk or shelf, how much finishing you enjoy, and the time you want to spend on the project.
If you are choosing a gift, think about the recipient’s interests and how the finished piece will be used. For your own collection, compare the style and scale with objects you already have. Choosing carefully helps you avoid downloading a model that is too large, too complex, or unsuitable for your intended purpose.
Prepare your 3D printer before starting
Open the downloaded model in a compatible slicer and review it at the intended scale. Check orientation, wall thickness, overhangs, and contact with the build plate. A model that looks good on screen still needs settings adapted to your particular machine. Review each layer in the slicer preview before sending the job to print.
For filament printing, consider nozzle size, layer height, infill, bed adhesion, and supports. For resin printing, consider orientation, support placement, washing, and curing requirements. Always follow the instructions supplied with your printer and material. Do a smaller test when you are uncertain about fit or surface detail.
Plan material, time, and finishing
The same model can require different amounts of material at different scales. Increasing the size also increases the space and time needed for printing. Your slicer’s estimate is useful for comparing possible settings before committing to a long job. Include supports, failed attempts, and finishing supplies when planning your budget.
After printing, some models may need support removal, sanding, assembly, or painting. Leave enough time for these steps and use suitable protective equipment for your materials. If a project has several parts, check their fit before final assembly. Keep a record of successful settings so that future prints are easier to repeat.
Helpful resources and support
Visit our 3D printing blog for more project ideas, or read the FAQs for answers about the store. If a product description leaves an important question unanswered, contact MY3DSTL before purchasing.
For a practical introduction to preparing models, the Prusa knowledge base explains common slicing and printing concepts. Apply guidance to your own equipment and confirm settings with its manufacturer. Browse the 3D printer files below and choose a project that suits your experience, available time, and creative goals.
Frequently asked questions
Am I buying a printed object?
No. This shop offers digital model downloads. Read each product listing to see which files are included.
Will every model work on my machine?
Compatibility depends on size, geometry, material, and preparation. Check the listing and inspect the model in your slicer before printing.
Match the project to your 3D printer
Think about the object you want to make before comparing files. A display miniature, an articulated toy, a decorative vase, and a wearable helmet place different demands on a machine. Small surface details can be difficult to reproduce at a tiny scale. Large pieces may need splitting and assembly. Moving parts need enough clearance to separate and move after printing.
Read the actual product description rather than relying only on an attractive picture. Look for information about the number of parts, the intended scale, and whether supports are included. A listing that contains STL files does not automatically include a ready-to-print project for your specific machine. If these details affect your decision and are not stated, ask before you purchase.
Choose a manageable first project
If you are still learning your 3D printer, start with a model whose shape you understand. Inspect the base, narrow sections, and visible overhangs. Consider where support marks could appear and whether those surfaces will be visible when the piece is displayed. A model that prints in several parts may make some surfaces easier to orient, but it also adds assembly work.
Choose a project that leaves room in your material budget for a test. Make one change at a time when adjusting your settings, and save the settings that work. A modest successful project teaches you more than a large print that is difficult to diagnose. Once you understand your equipment, you can take on more complex models with greater confidence.
Understand your downloaded files
STL describes the surface geometry of a model. It is commonly imported into slicing software, where you choose the printer, material, orientation, and print settings. The file itself does not guarantee that supports, colors, or machine instructions are included. Other formats may be supplied with a product; check the listing for the exact contents of your download.
Your purchase may arrive as a compressed archive or with a document containing download instructions. Keep the original download and extract a working copy before editing. When a project contains multiple files, retain their names and folder structure so that you can identify matching parts. Read any included instructions before changing scale or preparing supports.
Keep the original model safe
Save modified versions under new names. This makes it easier to return to the original if an edit causes an unexpected result. Use clear filenames for different sizes and revisions. Keep your slicer project separately from the downloaded STL so that your machine settings and layout are preserved without overwriting the source model.
If your slicer reports a problem, inspect its preview before proceeding. Compare the affected area with the model shown in the listing. Automatic repair can change geometry, especially around thin or overlapping surfaces. Save a separate copy before trying a repair, and contact support if the supplied file appears incomplete or cannot be opened.
Check scale, fit, and assembly
Import the model and read its dimensions in your slicer. Make sure the units and overall size make sense for the object. A model that appears unusually tiny or enormous may need a unit or scale adjustment. Compare its dimensions with your build volume and allow room for supports, adhesion structures, and any clearance required by your equipment.
Uniform scaling preserves proportions, but it also changes small details and clearances. A thin feature may become fragile when reduced. A connection that fits well at one scale may need a test at another. For multipart projects, scale matching parts consistently and check that each piece still fits on the build plate.
Test important connections first
For a large assembly, consider printing a small test of the connection or a representative part before starting the whole project. Dry-fit the pieces before gluing or painting. Keep glue away from joints intended to move. Follow the product’s instructions where supplied, and allow time for any adhesive or coating to cure according to its manufacturer.
Wearable props deserve an extra fit check. Measure the relevant dimensions and compare them with the model rather than assuming that a display scale will fit a person. Printed costume pieces are decorative props unless explicitly designed and certified for a protective use. Plan comfortable handling, suitable ventilation, and safe finishing materials for the way the item will be used.
Review the slicer preview
Before starting your 3D printer, examine the sliced layers. Look for unsupported islands, very small contact areas, and surfaces that begin without a suitable foundation. The best orientation balances surface appearance, stability, supports, and print time. Rotating the model can change all of these, so compare the preview before choosing your final layout.
Check that the preview actually includes the details you care about. A feature visible in the model may disappear in slicing if it is too thin for the selected process or settings. Review the estimated material and time as planning information, then leave a margin for setup, support removal, and finishing. The estimate is not a guarantee of the final result.
Use a profile that suits your equipment
Begin with a suitable manufacturer profile for your machine and material when one is available. Avoid copying every setting from an unrelated printer. Nozzle size, cooling, exposure, motion, and material behavior can differ. Change settings for a specific reason and use a small test to evaluate the effect before committing to a lengthy print.
Keep your 3D printer maintained and follow its operating instructions. A clean build surface, correctly prepared material, and a checked first layer can make troubleshooting easier. For resin workflows, follow the resin and equipment manufacturers’ guidance for handling, washing, curing, and waste. Keep the workspace appropriate for your printing process.
A practical checklist before buying
- Confirm that you are purchasing digital files and check which formats are included.
- Compare model dimensions and part sizes with your 3D printer build volume.
- Look for support, assembly, and scale information in the product description.
- Read the applicable file-use terms before planning any commercial activity.
- Allow material and time for preparation, testing, and finishing.
- Ask about an important missing detail before completing your order.
A bundle can be useful when you want several related projects, but choose it for the models you intend to print rather than the file count alone. Compare the descriptions of the included designs. Keep a shortlist of projects and begin with the one that best matches your current equipment, available material, and experience.
Return to the store FAQs if you need help with downloads, or use the contact page for a product or order question. Include the product name and a clear description of the issue so that the support team can understand what you need. Browse the 3D printer collection and build a project list that is practical as well as inspiring.
Explore different kinds of 3D printer projects
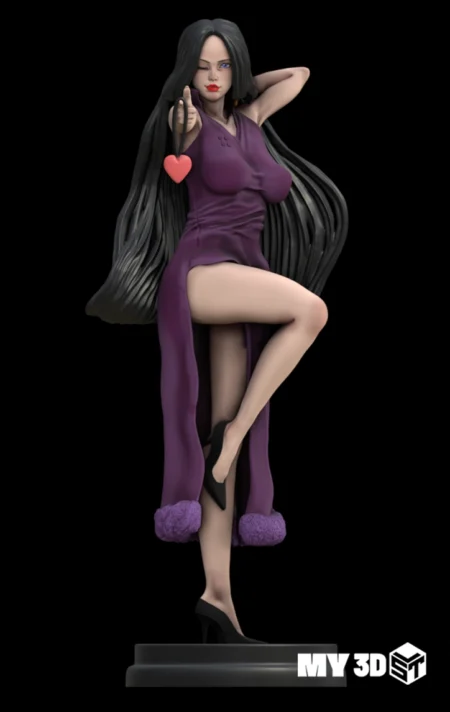
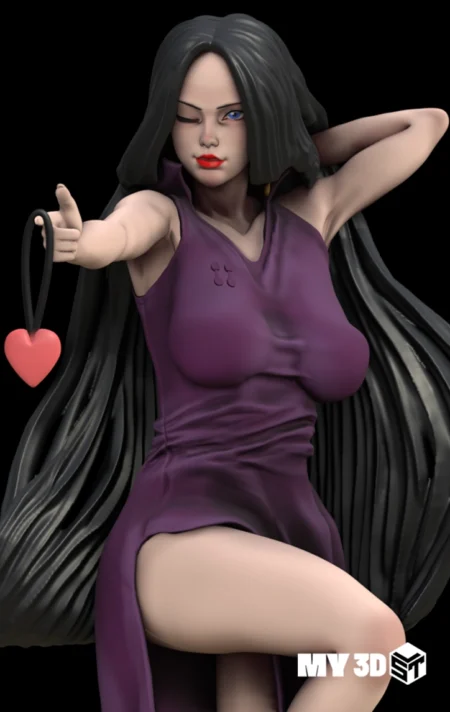
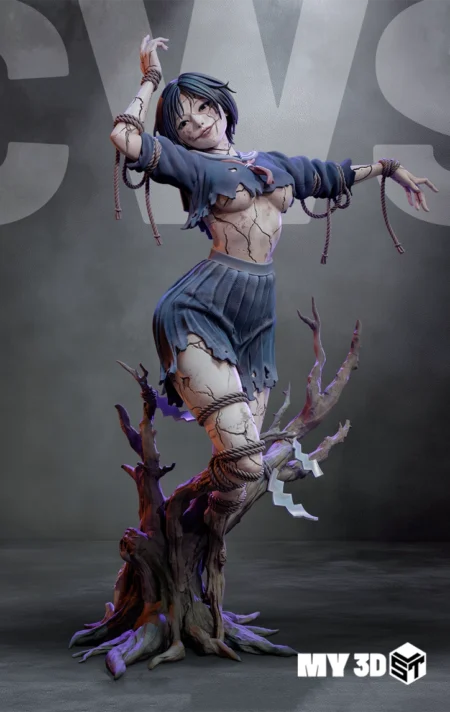
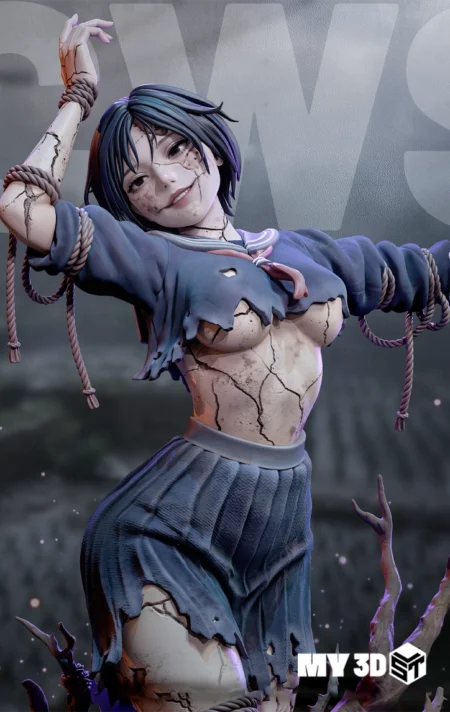
Catalog images help you compare the appearance of different projects, but each design still needs its own preparation. Use the examples below as starting points for your shortlist. Check the corresponding listing for exact file contents and instructions rather than assuming that every model in the shop has the same construction or printing requirements.
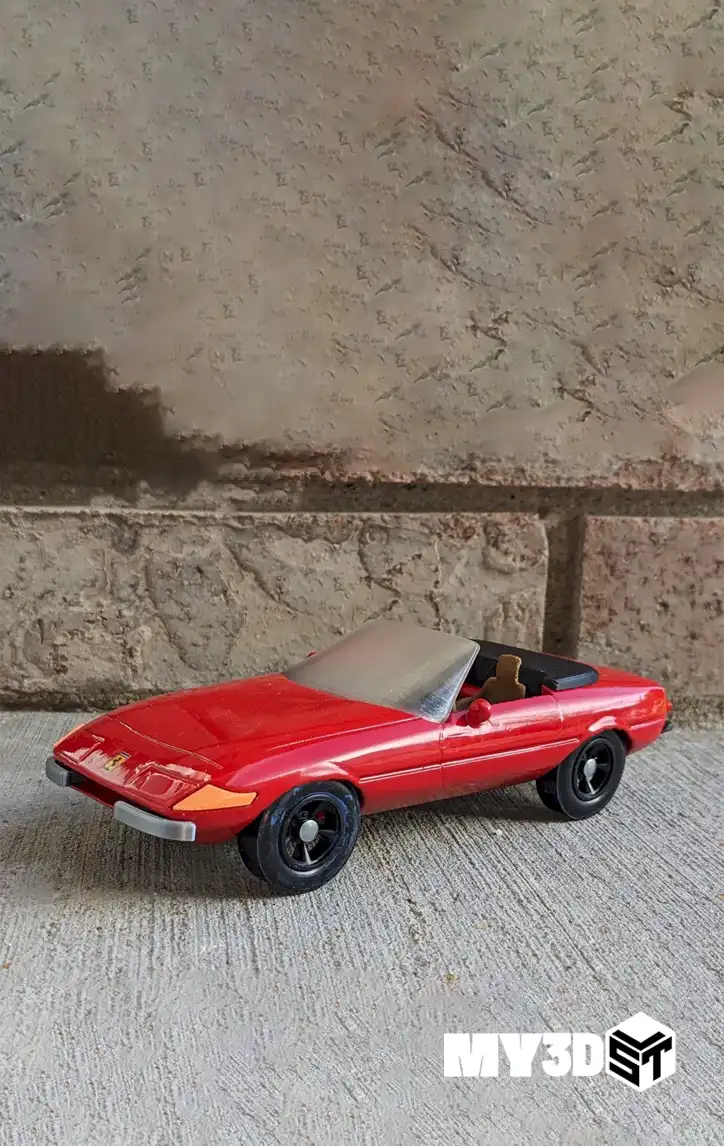
Vehicle and display models
For a vehicle or other display piece, think about which surfaces will be most visible after assembly. Curved bodywork, small details, and thin parts may need different orientations. Check the number of pieces and keep track of their names. A useful display project is one whose scale, level of detail, and finishing requirements match the result you want to achieve.
Allow space for the completed model as well as room on the build plate. If you plan to paint it, consider how parts will be held and which areas need to remain accessible during finishing. Test connections before applying permanent adhesive. Keep a photograph or note of your assembly order so you can repeat the project more easily later.
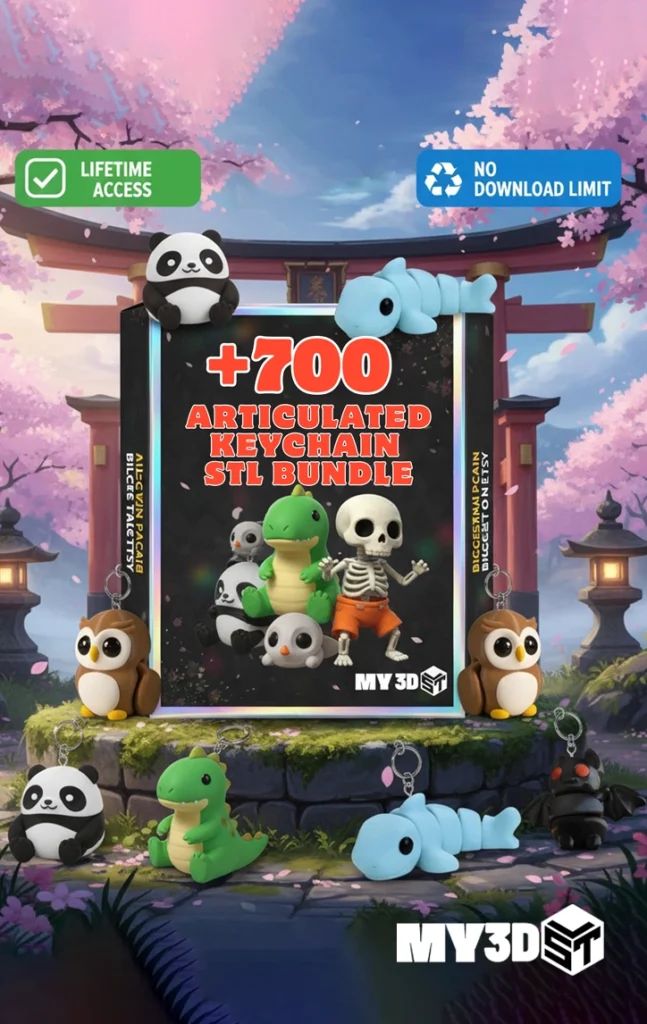
Articulated designs and small accessories
Moving designs need special attention to first-layer settings, clearances, and support placement. Inspect any print-in-place joints in your slicer. Do not assume that a part intended to move should be fused to a support or adhesion structure. Check the supplied guidance, and test a single model before filling an entire plate with copies.
Small accessories can be convenient projects, but scale still matters. Reducing a design may close a gap or weaken a loop. Enlarging it may make it less comfortable to carry. Consider the intended use, material choice, and durability you need. Inspect the finished object for sharp edges, loose parts, and weak connections before using it.

Miniatures and themed collections
When building a collection, compare scale and presentation across the models you choose. A shared display height can help a group look consistent, while a larger centerpiece can provide variety. Check how bases, accessories, and separate parts are supplied. A bundle is most useful when its actual contents match the collection you want to build.
Print one representative piece before preparing many miniatures at once. Review fine details and thin features at the scale you intend to use. If a part breaks or disappears in slicing, reassess its size and orientation. Keep successful settings with the model name so that you can prepare related pieces without starting your setup from the beginning.
Get useful help when something goes wrong
If a file does not open, note the exact filename, the application used, and the error message. Confirm that the download finished and that an archive was extracted successfully. Try opening a fresh working copy before editing the original. These checks help distinguish a download problem from a slicing or model-preparation issue.
If a print fails, record the model’s orientation, scale, material, layer settings, and the stage at which it stopped. A photograph of the result and a slicer preview can make the problem easier to describe. Compare these observations with your 3D printer instructions. Several different causes can produce similar symptoms, so avoid assuming that every failure comes from the file itself.
For order or download assistance, use the MY3DSTL contact page and include the product name and order number where relevant. Explain what you expected and what happened instead. Keep passwords and payment-card details out of support messages. Clear information helps the team investigate the issue and reduces unnecessary back-and-forth. Keep your original download and a separate copy of any modified files so you can compare results and explain exactly which version you used.
-
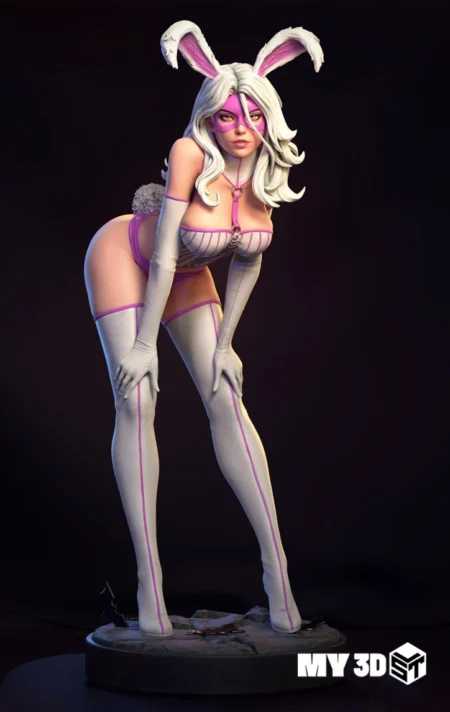
White Rabbit STL 3D Print Model
Original price was: $8.00.$5.99Current price is: $5.99. -
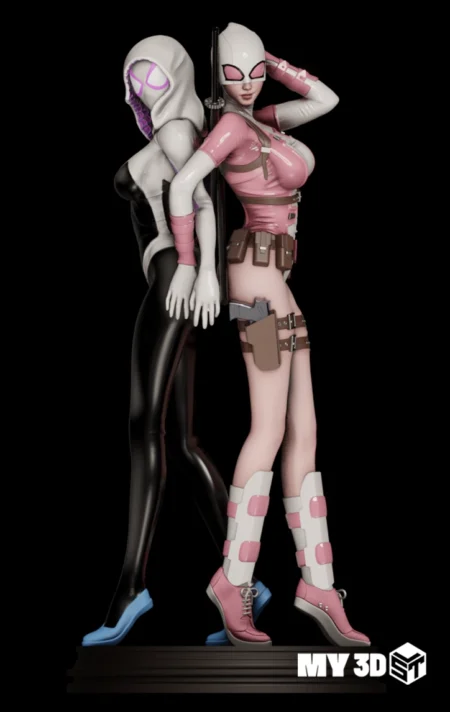
SpiderGwen X Gwenpool NSFW STL 3D Print Model
Original price was: $10.00.$6.99Current price is: $6.99. -
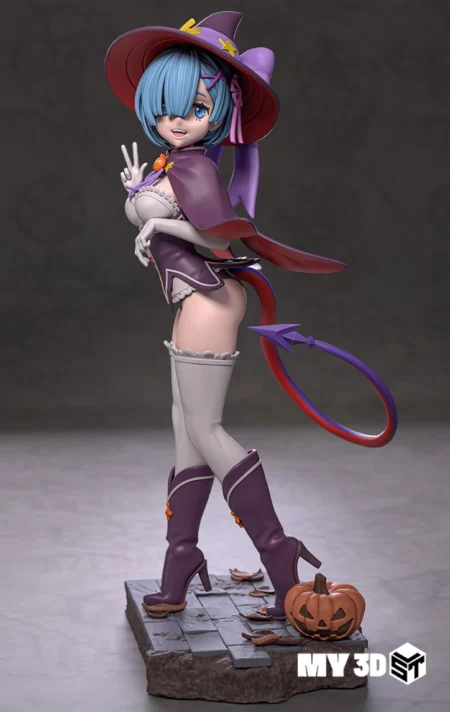
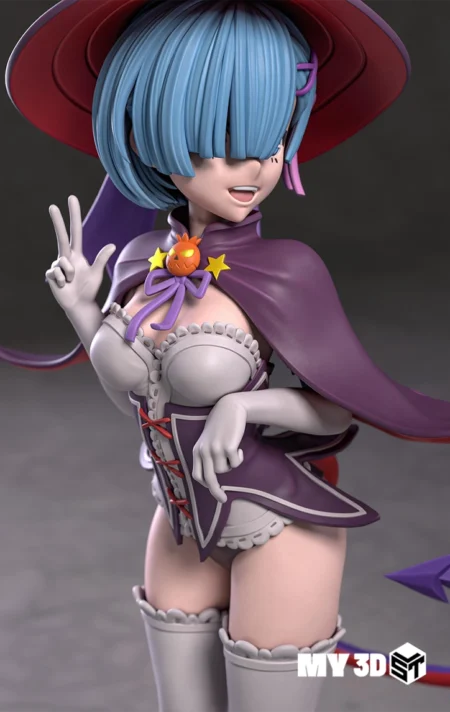
Rem NSFW STL 3D Print Model
Original price was: $10.00.$6.99Current price is: $6.99. -
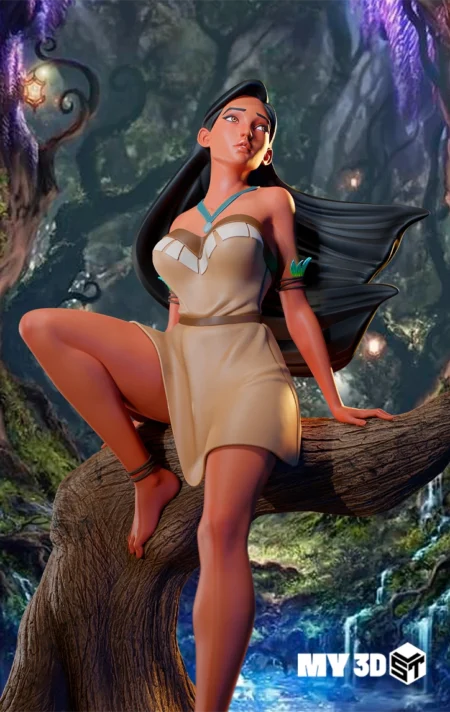
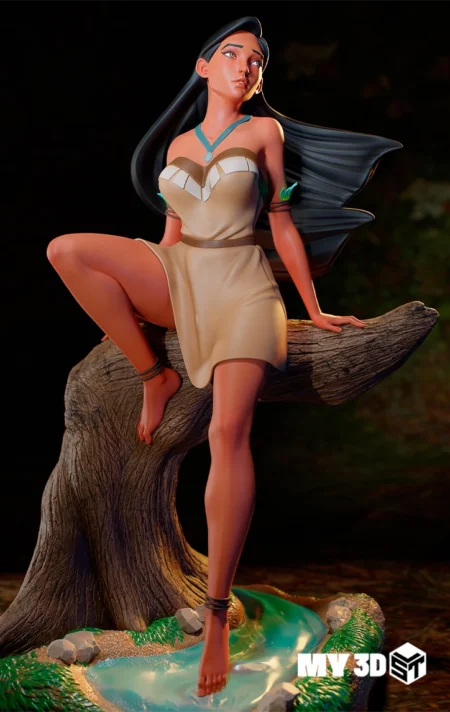
Pocahontas NSFW STL 3D Print Model
Original price was: $8.00.$5.99Current price is: $5.99. -
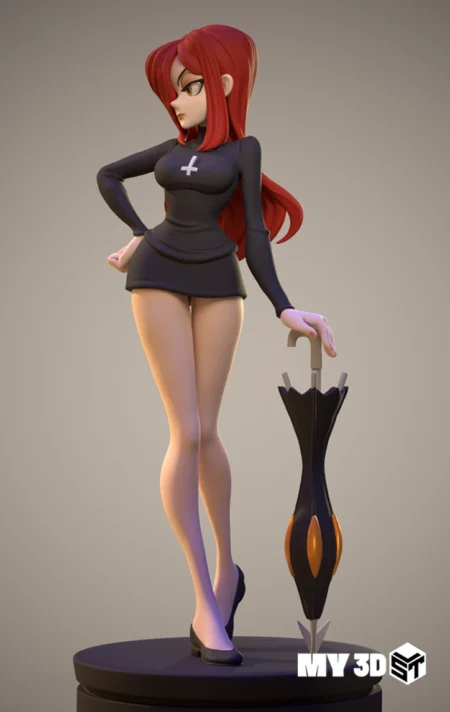
Parasoul STL 3D Print Model
Original price was: $8.00.$4.99Current price is: $4.99. -
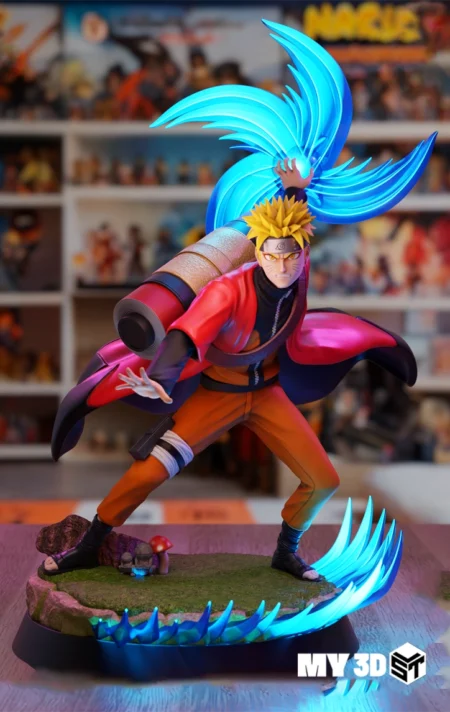
Naruto Uzumaki STL 3D Print Model
Original price was: $10.00.$6.99Current price is: $6.99. -
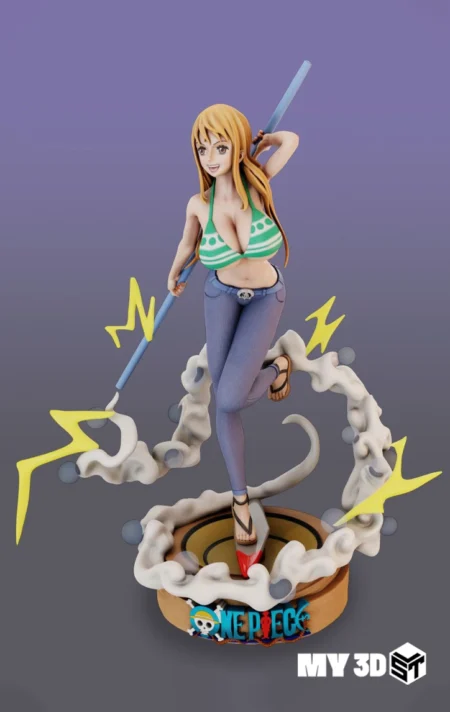
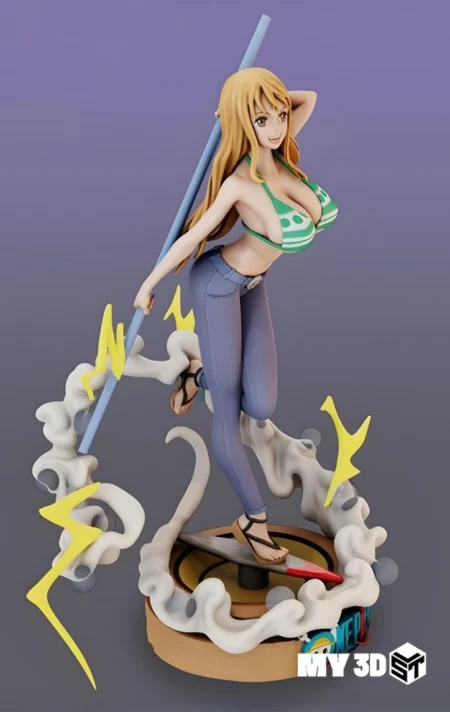
Nami NSFW STL 3D Print Model
Original price was: $10.00.$6.99Current price is: $6.99. -
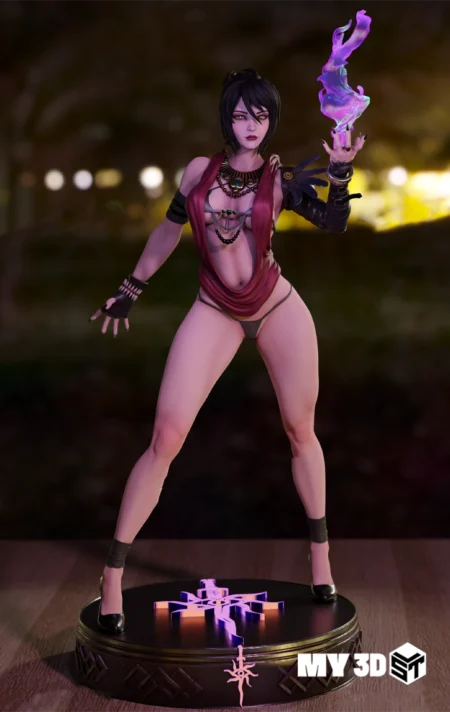
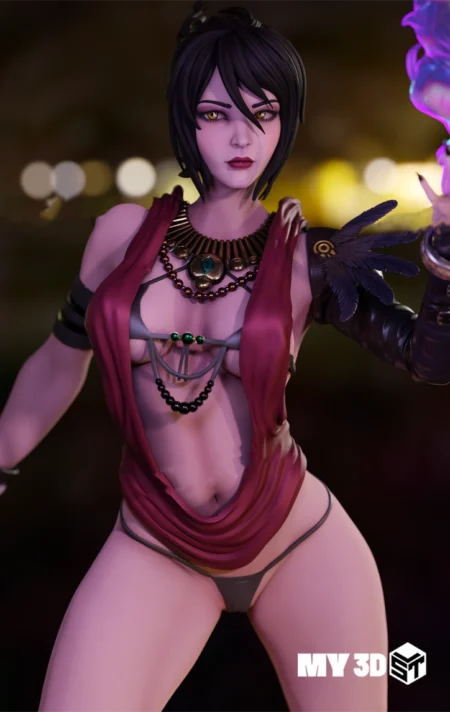
Morrigan NSFW STL 3D Print Model
Original price was: $8.00.$5.99Current price is: $5.99. -
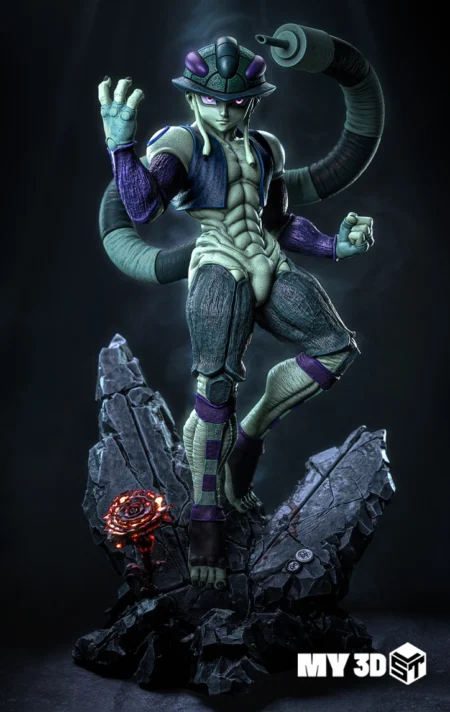
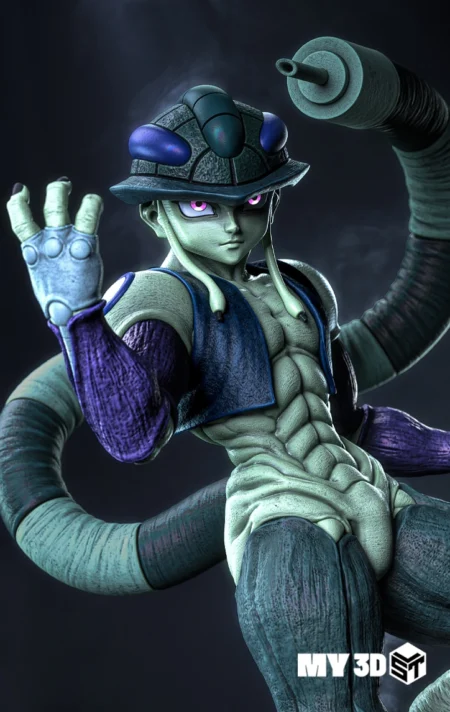
Meruem STL 3D Print Model
Original price was: $10.00.$6.99Current price is: $6.99. -
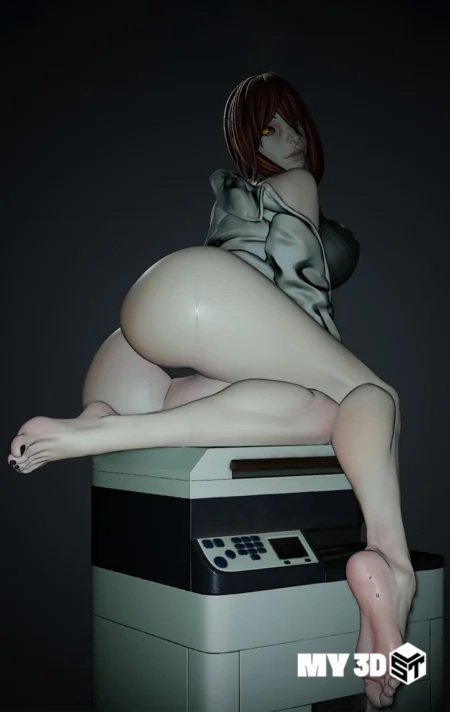
Makima STL 3D Print Model
Original price was: $8.00.$5.99Current price is: $5.99. -
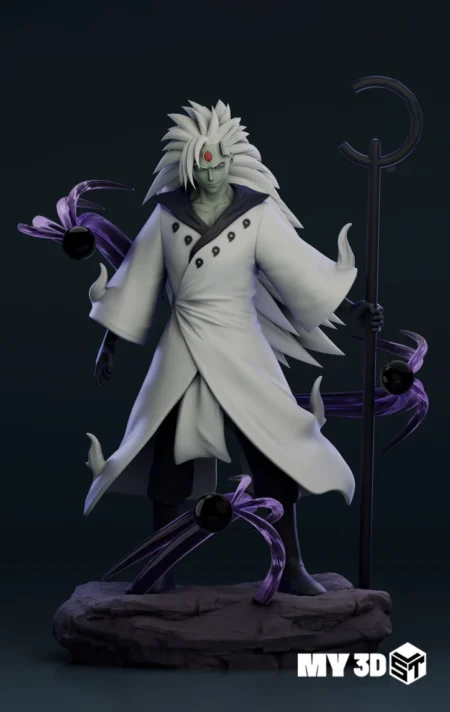
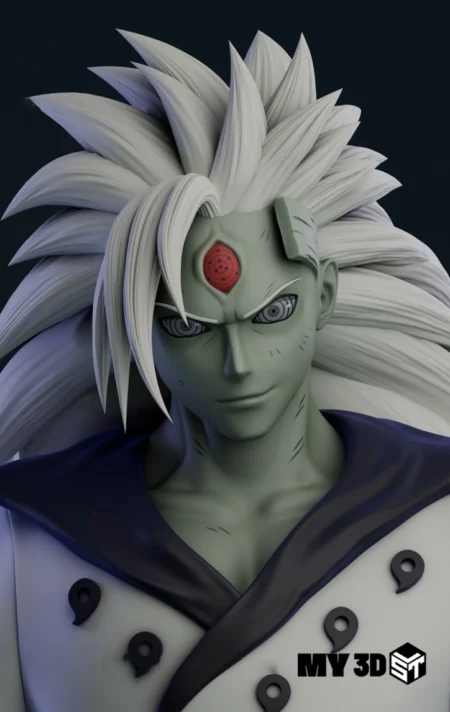
Madara Uchiha Six Paths STL 3D Print Model
Original price was: $10.00.$6.99Current price is: $6.99. -
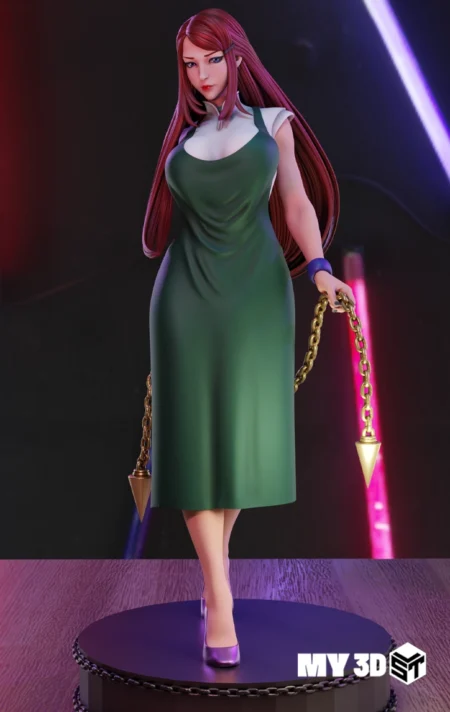
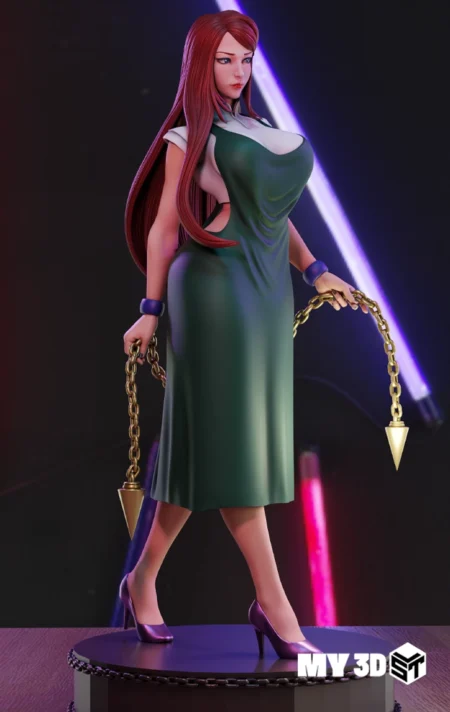
Kushina Uzumaki NSFW STL 3D Print Model
Original price was: $10.00.$6.99Current price is: $6.99. -
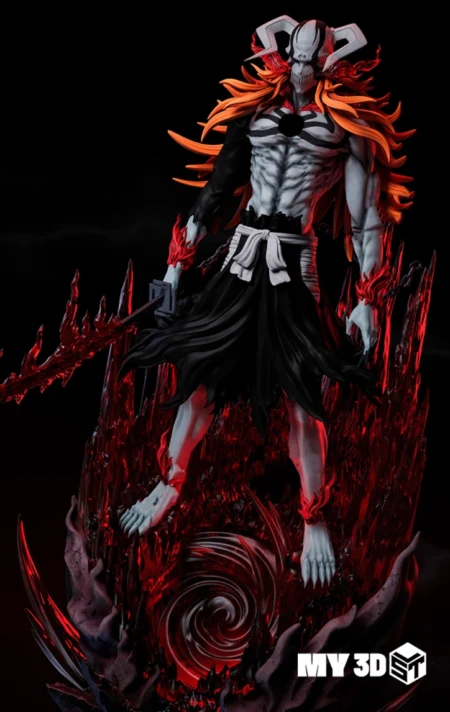
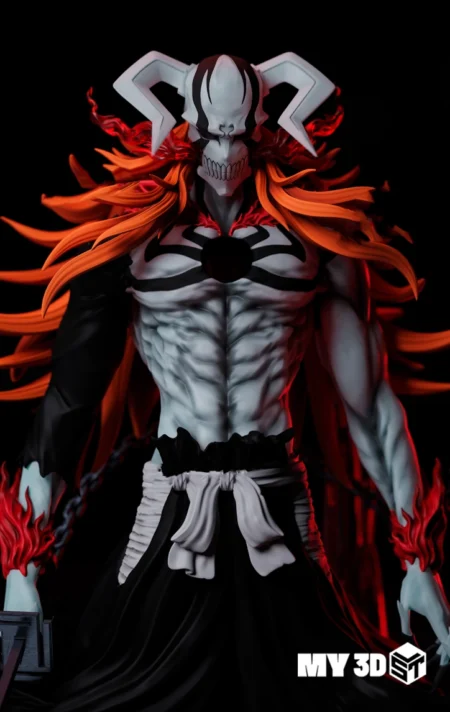
Ichigo Kurosaki STL 3D Print Model
Original price was: $10.00.$6.99Current price is: $6.99. -
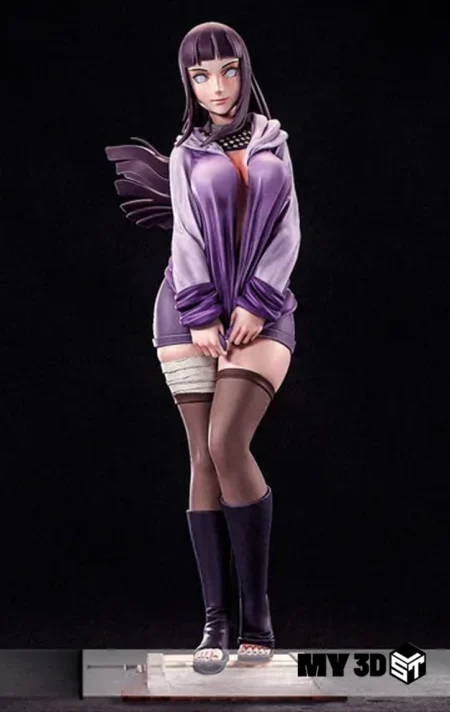
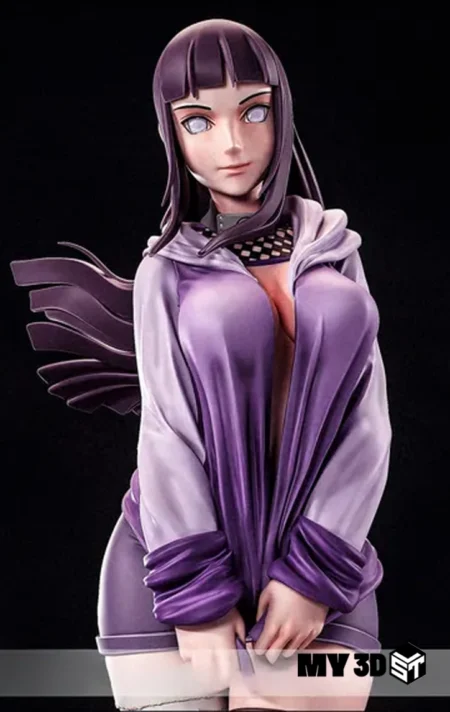
Hinata Hyuga NSFW STL 3D Print Model
Original price was: $10.00.$6.99Current price is: $6.99. -
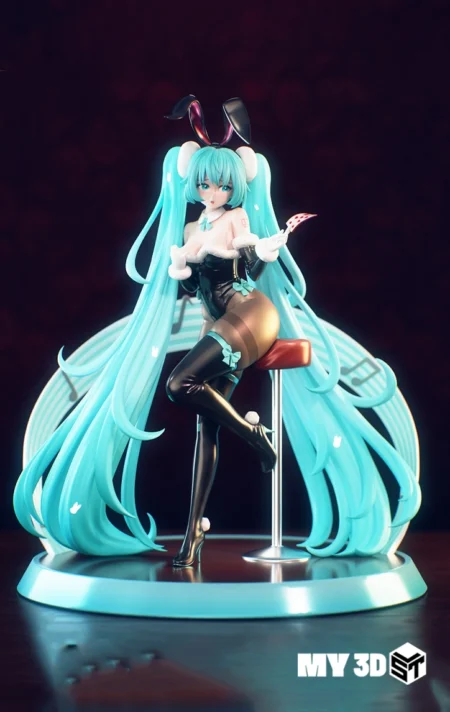
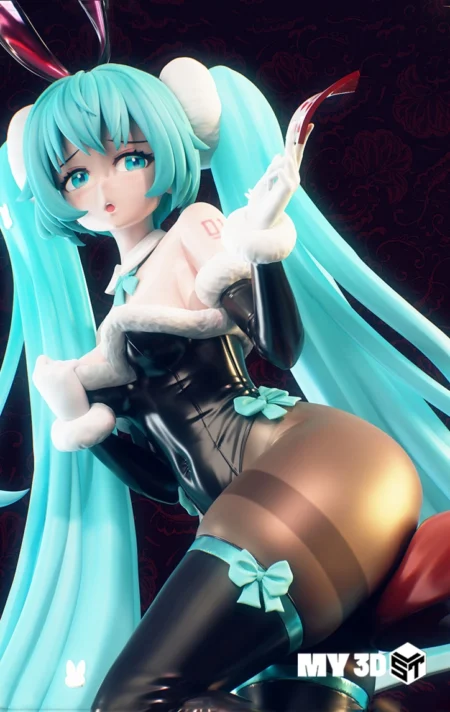
Hatsune Miku STL 3D Print Model
Original price was: $10.00.$6.99Current price is: $6.99. -
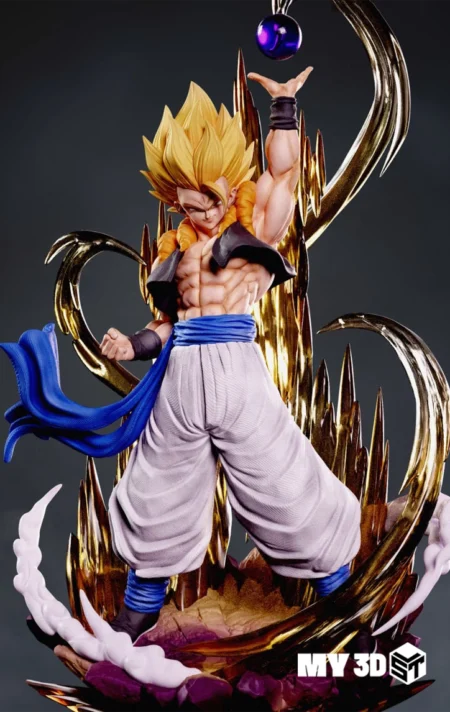
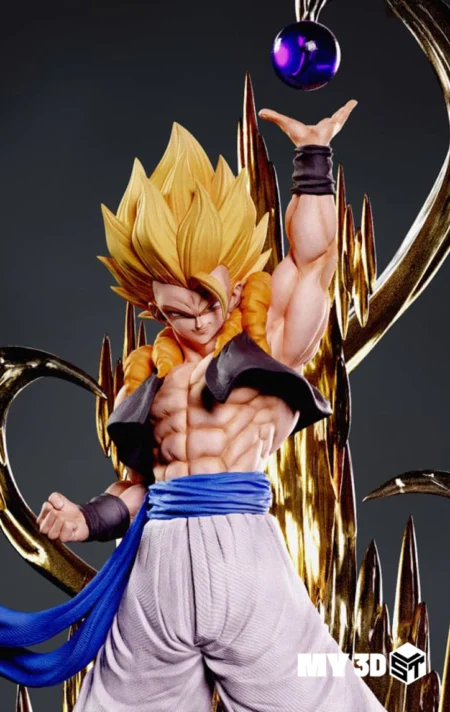
Gogeta STL 3D Print Model
Original price was: $10.00.$6.99Current price is: $6.99. -
Boa Hancock NSFW STL 3D Print Model
Original price was: $10.00.$6.99Current price is: $6.99. -
Ayakakashi Spirit Girl STL 3D Print Model
Original price was: $8.00.$5.99Current price is: $5.99. -
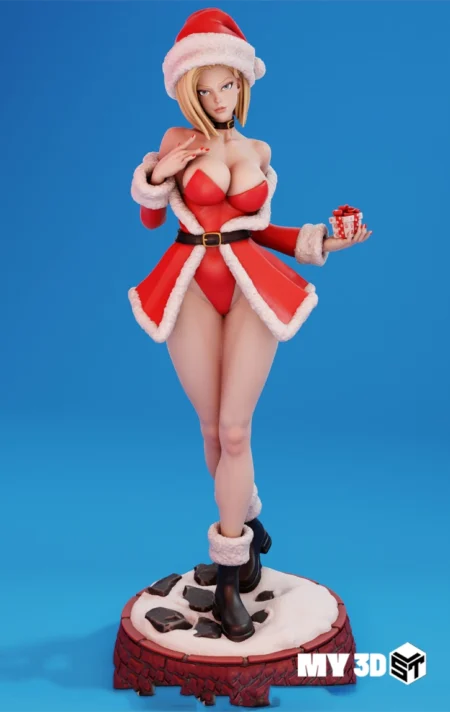
Android 18 STL 3D Print Model
Original price was: $8.00.$5.99Current price is: $5.99. -
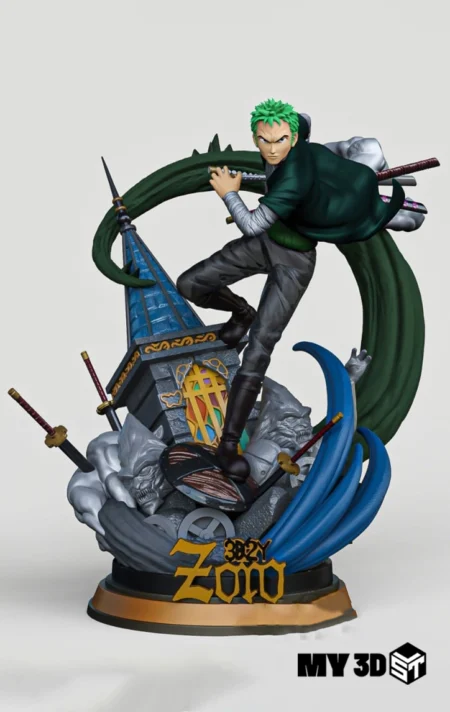
Roronoa Zoro STL 3D Print Model
Original price was: $10.00.$6.99Current price is: $6.99. -
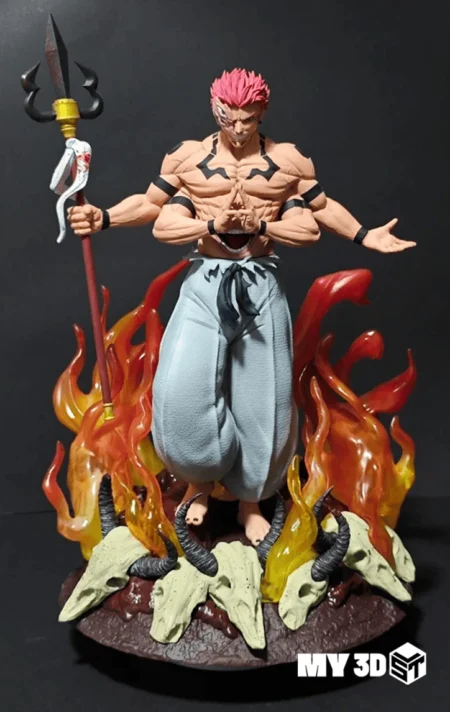
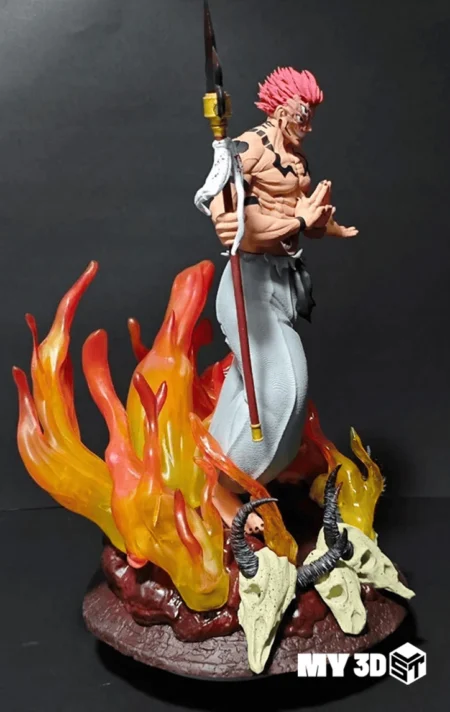
Sukuna STL 3D Print Model
Original price was: $10.00.$6.99Current price is: $6.99. -
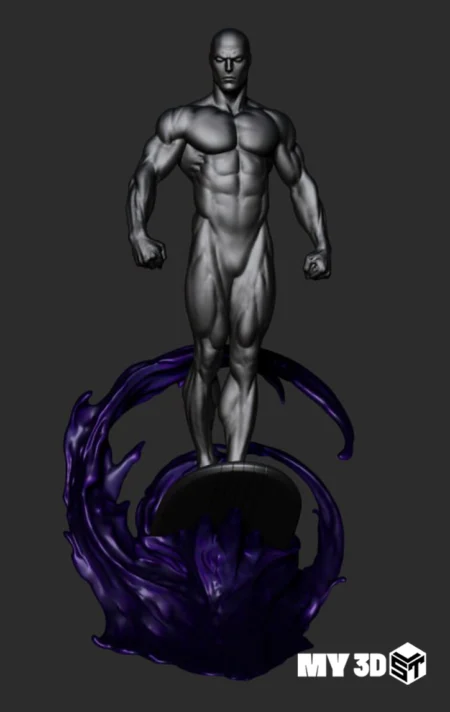
Silver Surfer STL 3D Print Model
Original price was: $8.00.$4.99Current price is: $4.99. -
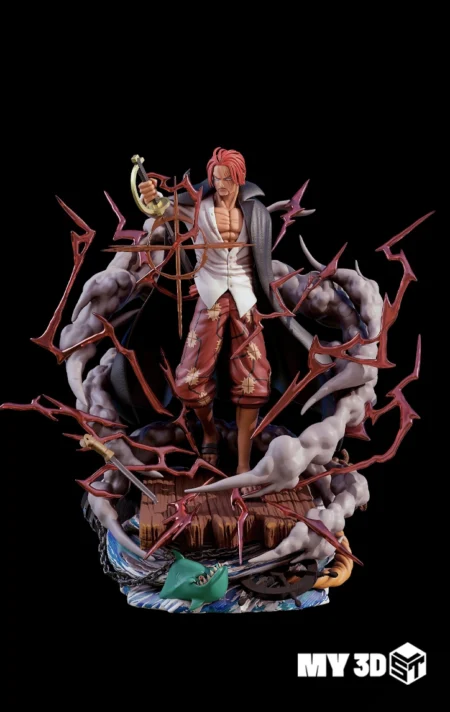
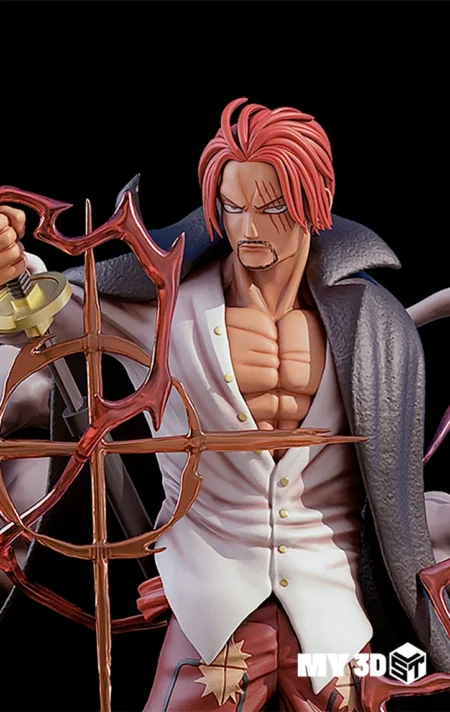
Shanks STL 3D Print Model
Original price was: $10.00.$6.99Current price is: $6.99. -
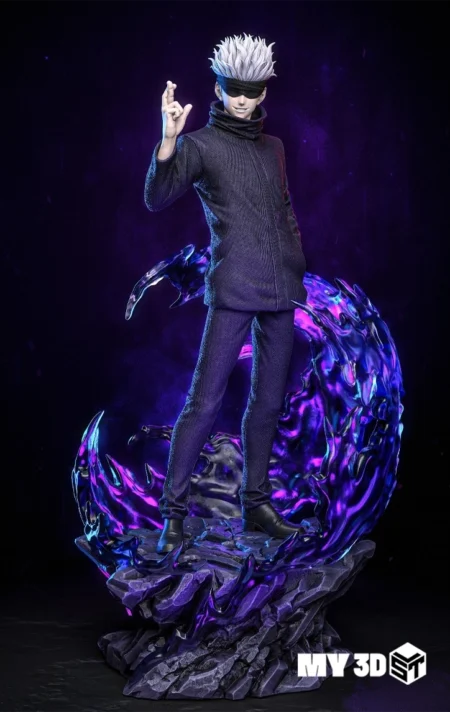
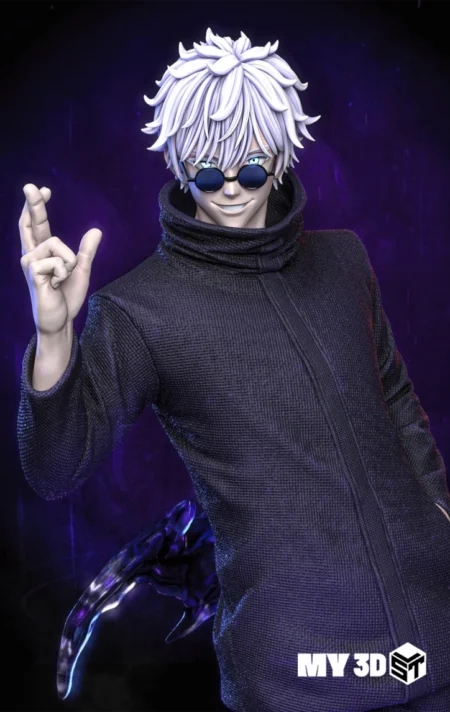
Satoru Gojo STL 3D Print Model
Original price was: $10.00.$6.99Current price is: $6.99. -
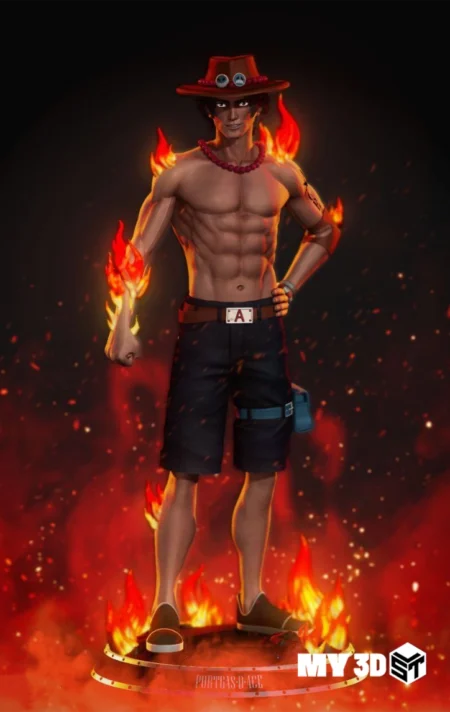
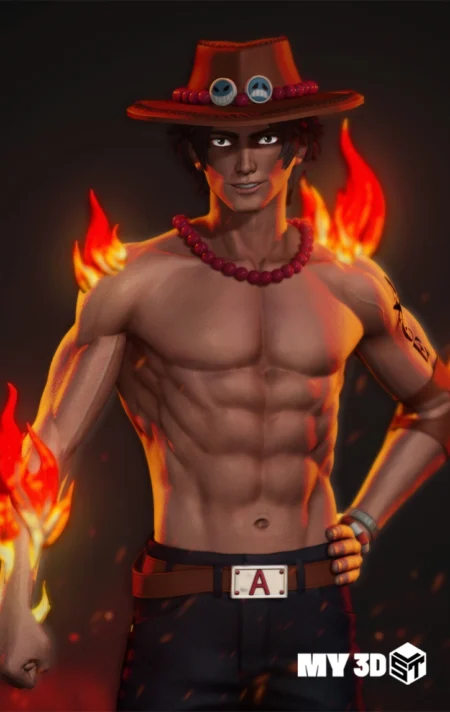
Portgas D. Ace STL 3D Print Model
Original price was: $10.00.$6.99Current price is: $6.99.