

3D print supports help produce parts of a model that cannot be built reliably on the layers beneath them. They can also add material, cleanup time, and marks on visible surfaces. A good plan for 3D print supports balances the geometry you need to print with the finish you want on the completed object.
This guide focuses on filament printing and seven practical checks before you start a model. It also shows catalog examples from MY3DSTL to illustrate the kinds of geometry you may need to inspect. The images are product previews, not support-setting demonstrations or test prints made for this article. Follow the individual model notes and your printer’s guidance.
Table of Contents
1. Inspect the model before generating 3D print supports
Before generating 3D print supports, begin with the model at the scale you intend to use. Identify broad overhangs, small projecting details, disconnected sections, and areas where the print first appears above empty space. View the model from below as well as from its presentation angle. The most attractive preview image may hide the difficult underside.
Next, check the sliced layer preview rather than relying only on the smooth model view. Locate the first layers of each overhanging section and examine what supports them. A short bridge and an isolated feature starting in the air are different situations, so they may not need the same treatment.
Do not assume a category determines whether 3D print supports are needed. A character figure, mask, ornament, or articulated animal can have very different requirements depending on its actual geometry and orientation. Read the supplied instructions before applying a familiar preset to an unfamiliar design.
2. Compare orientation before adding 3D print supports
Orientation changes which surfaces touch the bed, which details face downward, and where support contacts may occur. Before increasing support density, compare another plausible orientation. Consider both the finish and the stability of the model; reducing supports is not useful if the new position creates a less reliable print.
Choose which surfaces matter most in the final display. If a face, lettering, or broad front panel must look clean, examine whether another orientation can move support contacts to less visible areas. The result still depends on the geometry, material, and profile, so validate the change in the layer preview.
Sometimes a model supplied in separate parts gives you more control over the contact surfaces. If you consider splitting a suitable model yourself, plan the assembly and fit as well as the support reduction. Prusa’s modeling guidance discusses orientation and dividing models as part of preparing printable geometry.
3. Compare 3D print supports for the actual shape
Slicers may offer several types of 3D print supports. Names and controls differ between applications. A branching structure and a more regular support pattern can reach the same general region in different ways, with different contact points and access for removal. Inspect the generated structure rather than choosing by its name alone.
In PrusaSlicer, the organic supports reference explains the branch and contact controls. Branch thickness and the number of contacts can affect stability and removal. Use the reference for the software you actually run, and start with a suitable tested profile before making targeted changes.
Compare the options on one model using the same scale and orientation. Look at whether the branches or pillars are stable, whether they reach the required areas, and whether you can remove them afterward. A lower material estimate is only one part of choosing useful 3D print supports.
4. Review where 3D print supports start and end
A support structure can start at the build plate or, with suitable settings, on an existing model surface. A build-plate-only option may leave some areas unsupported if there is no clear path from below. Supports growing from the model can add contact marks to surfaces that would otherwise be visible.
The important question is whether every required region is supported in the preview, not whether one checkbox sounds cleaner. Inspect both the top contact beneath the overhang and the base of the structure. Check whether a tall narrow section looks vulnerable or whether the support reaches an area that will be inaccessible after printing.
Prusa’s support-material documentation explains placement modes and contact settings. Use model-specific guidance and small tests rather than copying one contact-gap value to every material and layer height. The appropriate balance can change when the printing setup changes.
5. Place 3D print supports carefully around delicate details
Automatic generation is a starting point for reviewing 3D print supports. Where your slicer provides painting, enforcers, or blockers, those tools let you target areas more deliberately. Add or remove support only after identifying what the affected layers need, then regenerate the preview to inspect the result.
Pay special attention to fingers, thin accessories, loops, and small links. A support can be technically present but still be difficult to remove without bending a fragile feature. Consider whether changing the orientation would solve the problem more cleanly than adding more contact around the same detail.
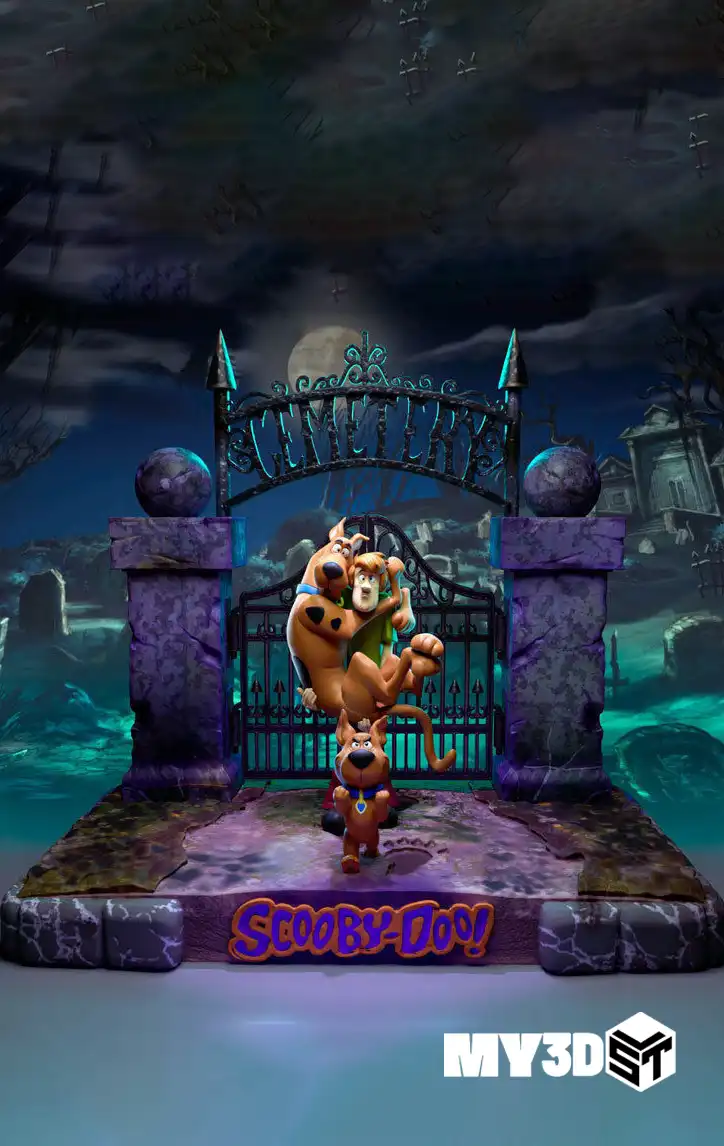
For a character project, compare the model with the instructions included in the download. The Scooby-Doo Halloween STL listing is one catalog example to inspect. Its product artwork does not establish which support preset will work on your own machine.
6. Protect moving joints from trapped support material
Articulated designs need space between parts that must move independently. Automatically generated 3D print supports can enter a joint or other confined space and become hard to remove. Follow the designer’s notes and examine these regions layer by layer before starting a long print.
Do not remove required support blindly, but do not assume adding supports everywhere makes a moving model safer to print. The correct approach depends on the model’s intended workflow. A design described as print-in-place still needs review at the scale and material you plan to use.
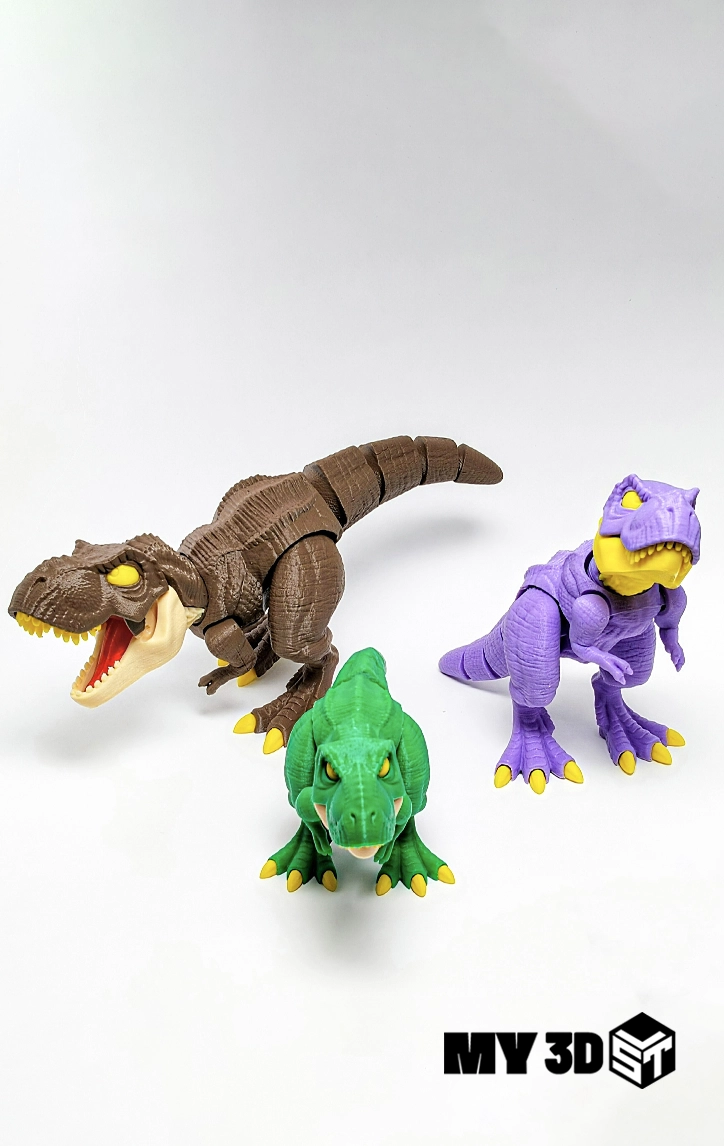
The T-Rex Articulated Flexi STL is a possible project for practicing this inspection. For more detail, our print in place STL files guide covers joint clearances, scaling, and checking a sample before printing copies.
7. Plan removal of 3D print supports before starting the print
Look at where you will grip the 3D print supports and which direction it can leave the model. A structure trapped behind delicate geometry may need a different orientation or model preparation. Thinking about removal in advance can save a print that would otherwise be damaged during cleanup.
Let the part cool and remove it using the method recommended for your build surface. Work carefully around small details and stop if removal requires enough force to bend the model. Use appropriate tools according to their instructions and keep hands out of the likely path if a support breaks free.
After removing 3D print supports, inspect the finished surface before sanding or painting. Finishing can improve appearance, but it should not replace diagnosing a repeatedly poor support interface. Prusa’s surface-above-supports troubleshooting page is a useful reference for reviewing this symptom.
Troubleshoot 3D print supports by the symptom
| What you observe | What to inspect | A useful next test |
|---|---|---|
| Support breaks during printing | Base contact, stability, and the affected layers | Review orientation and a targeted stability adjustment |
| Overhang sags above support | Support coverage and the interface | Test the relevant contact area on a small sample |
| Support is very hard to remove | Contact settings, material, and access | Compare a controlled interface or orientation change |
| Visible marks on the front | Where support contacts the display surface | Try moving the contacts to a less visible surface |
| Moving joint is blocked | Support entering the designed gap | Review the model instructions and sliced joint region |
Do not change several unrelated settings after a failed print. Identify the first useful observation, keep the original profile, and test one relevant adjustment. If the result gets worse, return to the known baseline before trying a different explanation.
A failed support can also affect the object it was supposed to carry. Prusa’s failing supports guide provides a focused reference for this situation. Check the failure location and the surrounding layers instead of treating every rough surface as the same problem.
Compare 3D print supports with a simple test record
Record the model name, scale, orientation, material, profile, and support style before each test. Add a screenshot or note identifying the contact area you are evaluating. This makes it easier to compare the physical result with the intended change.
After the print, note whether the support remained stable, how it separated, and what the supported surface looked like. Include any damage to small details. A setting that improves one criterion but makes another worse may not be the best choice for that particular model.
Keep successful 3D print supports settings with the project they were tested on. Do not turn them into a universal preset without further checks. Changes to nozzle, material, scale, or layer height can alter the result even when the model itself stays the same.
Budget for 3D print supports, cleanup, and finishing
Compare the complete sliced estimate when changing support styles. Include generated material and any other structures in the total. A smaller support mass may be appealing, but consider whether the structure remains reliable and whether the resulting finish matches your purpose.
Also consider the time you spend removing 3D print supports and preparing the model afterward. A support plan that saves a little filament but adds difficult cleanup may be a poor trade for a detailed gift or display. Our 3D printing cost guide explains how to separate material expense, active time, and other project inputs.
If a download includes several formats, verify what each file contains before importing it. A 3MF may carry project settings that need checking for your printer. Our STL vs 3MF comparison explains why the extension alone does not guarantee a ready-to-run setup.
Choose a manageable model to test 3D print supports
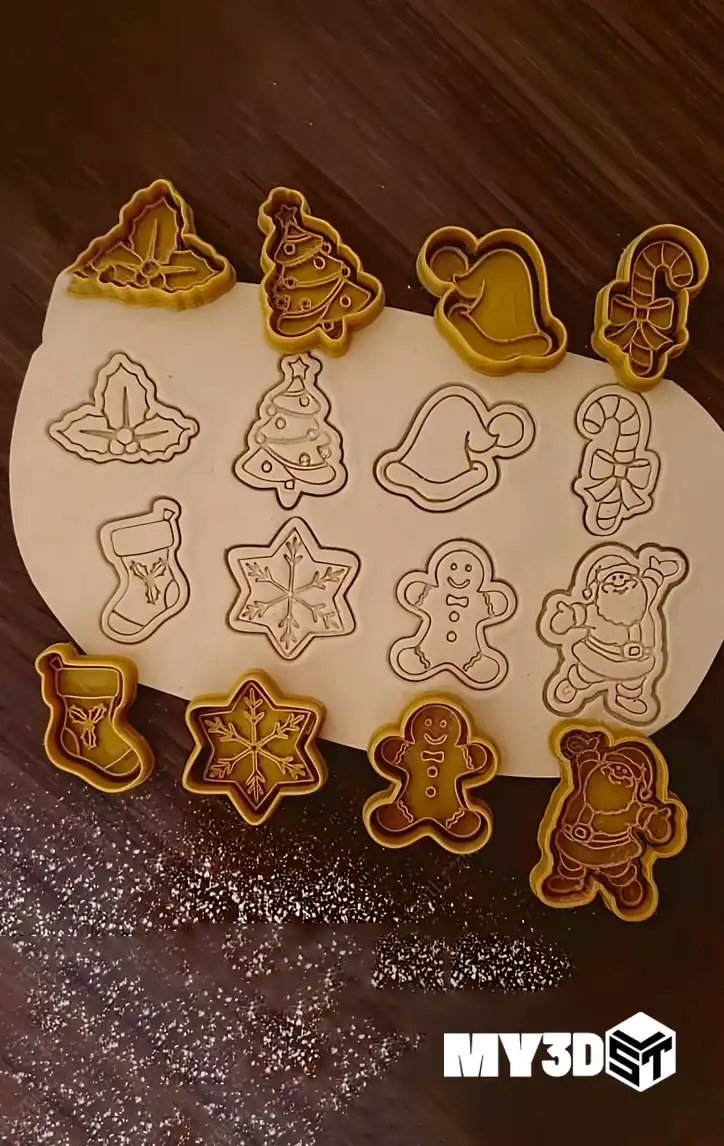
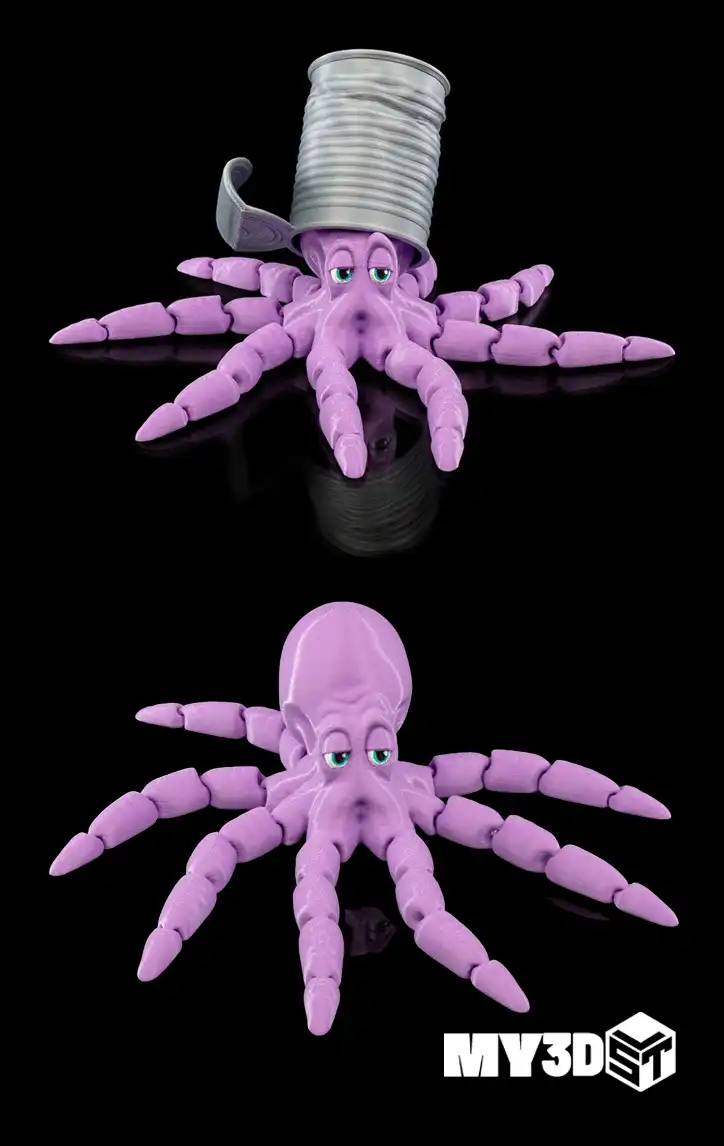
Start with one project whose geometry you can inspect and whose finishing requirements fit your experience. The Gus the Octopus model and the Christmas cookie ornaments collection provide different designs to compare. Review each actual file rather than assuming either is support-free.
New makers can use our beginner’s 3D printing guide for the broader workflow. For a seasonal project, browse the Christmas STL files guide and leave time for a sample before printing the final decorations.
All linked MY3DSTL products are digital models. You need appropriate printing equipment and materials to produce the physical objects. Check the file contents and license for your intended use before purchasing.
3D print supports: frequently asked questions
Do all models need supports? No. Support requirements depend on the geometry, orientation, scale, and printing method. Follow the model notes and inspect the sliced layers before deciding.
Are organic supports always the best choice? No single style suits every shape and workflow. Compare stability, coverage, removal access, and the visible surface result for your specific model.
Can I use the same contact gap for every print? Treat contact settings as part of a tested setup. Material, layer height, geometry, and software behavior can affect the result. Use the relevant documentation and controlled samples.
Why is my supported surface rough? Check orientation, support coverage, and the interface region in the preview. Compare the actual result with the layer where the issue starts before adjusting the profile.
Will more 3D print supports prevent every failure? More material does not automatically solve orientation, calibration, or model problems. It may also increase cleanup or trap material in tight regions.
Can I apply these filament tips to resin models? This guide focuses on filament printing. Resin support preparation, handling, washing, and curing have different requirements. Use the model and material instructions for that workflow.
Make support choices you can explain and repeat
Good 3D print supports planning starts with the model and the finish you want. Inspect the layers, compare orientation, test a suitable support approach, and plan removal before committing to a long print. Save the setup that works, then review it whenever you change the model or material.

A worked comparison for 3D print supports
Suppose a display model has a smooth front and a small projecting detail on its back. Start by marking the surface that matters most visually. Save the original project, then prepare two orientations using the same printer and material profile. Generate 3D print supports for each version and inspect the complete preview. Record where contact touches the display surface and whether cleanup tools can reach the projecting detail.
Do not choose only from the estimated support weight. In the first orientation, supports might be lighter but harder to remove. In the second, a little more support might contact a less visible area. Compare those consequences with your intended finish. If the model will be painted, you still need an accessible contact surface; paint does not make trapped support disappear.
Where a small representative test is possible, use it to compare the difficult region. Keep the layer height, material, and other relevant settings consistent between tests. Record the change in orientation or contact approach clearly. After cooling and removal, compare stability during printing, cleanup effort, and visible marks. Choose the plan that meets your priorities rather than the one that wins a single metric.
Hand over a repeatable plan for 3D print supports
If someone else will print the model, share the reason behind your 3D print supports choices along with the project notes. Identify the surface you protected, the region that needed support, and the parts that must remain movable. A screenshot of the slice can communicate the intended result more clearly than a list of unexplained numbers.
Ask the next maker to verify the printer, nozzle, material, and profile rather than treating your saved project as universally ready. If their equipment differs, the useful starting point is your decision process: inspect, compare, test, and record. They may need a different arrangement to achieve the same finish.
Before repeating a successful batch, reopen the preview and compare it with your notes. Confirm that the correct model version and scale are selected. Check that generated 3D print supports have not changed after a software update or a profile edit. A quick review of the critical layers is easier than discovering an unnoticed change during cleanup of several finished copies.
Keep both your successful setup and a brief record of rejected alternatives. Knowing why one orientation failed to provide access or damaged an edge can save time when you return to a similar design. The goal is a support plan you can explain, inspect, and reproduce.